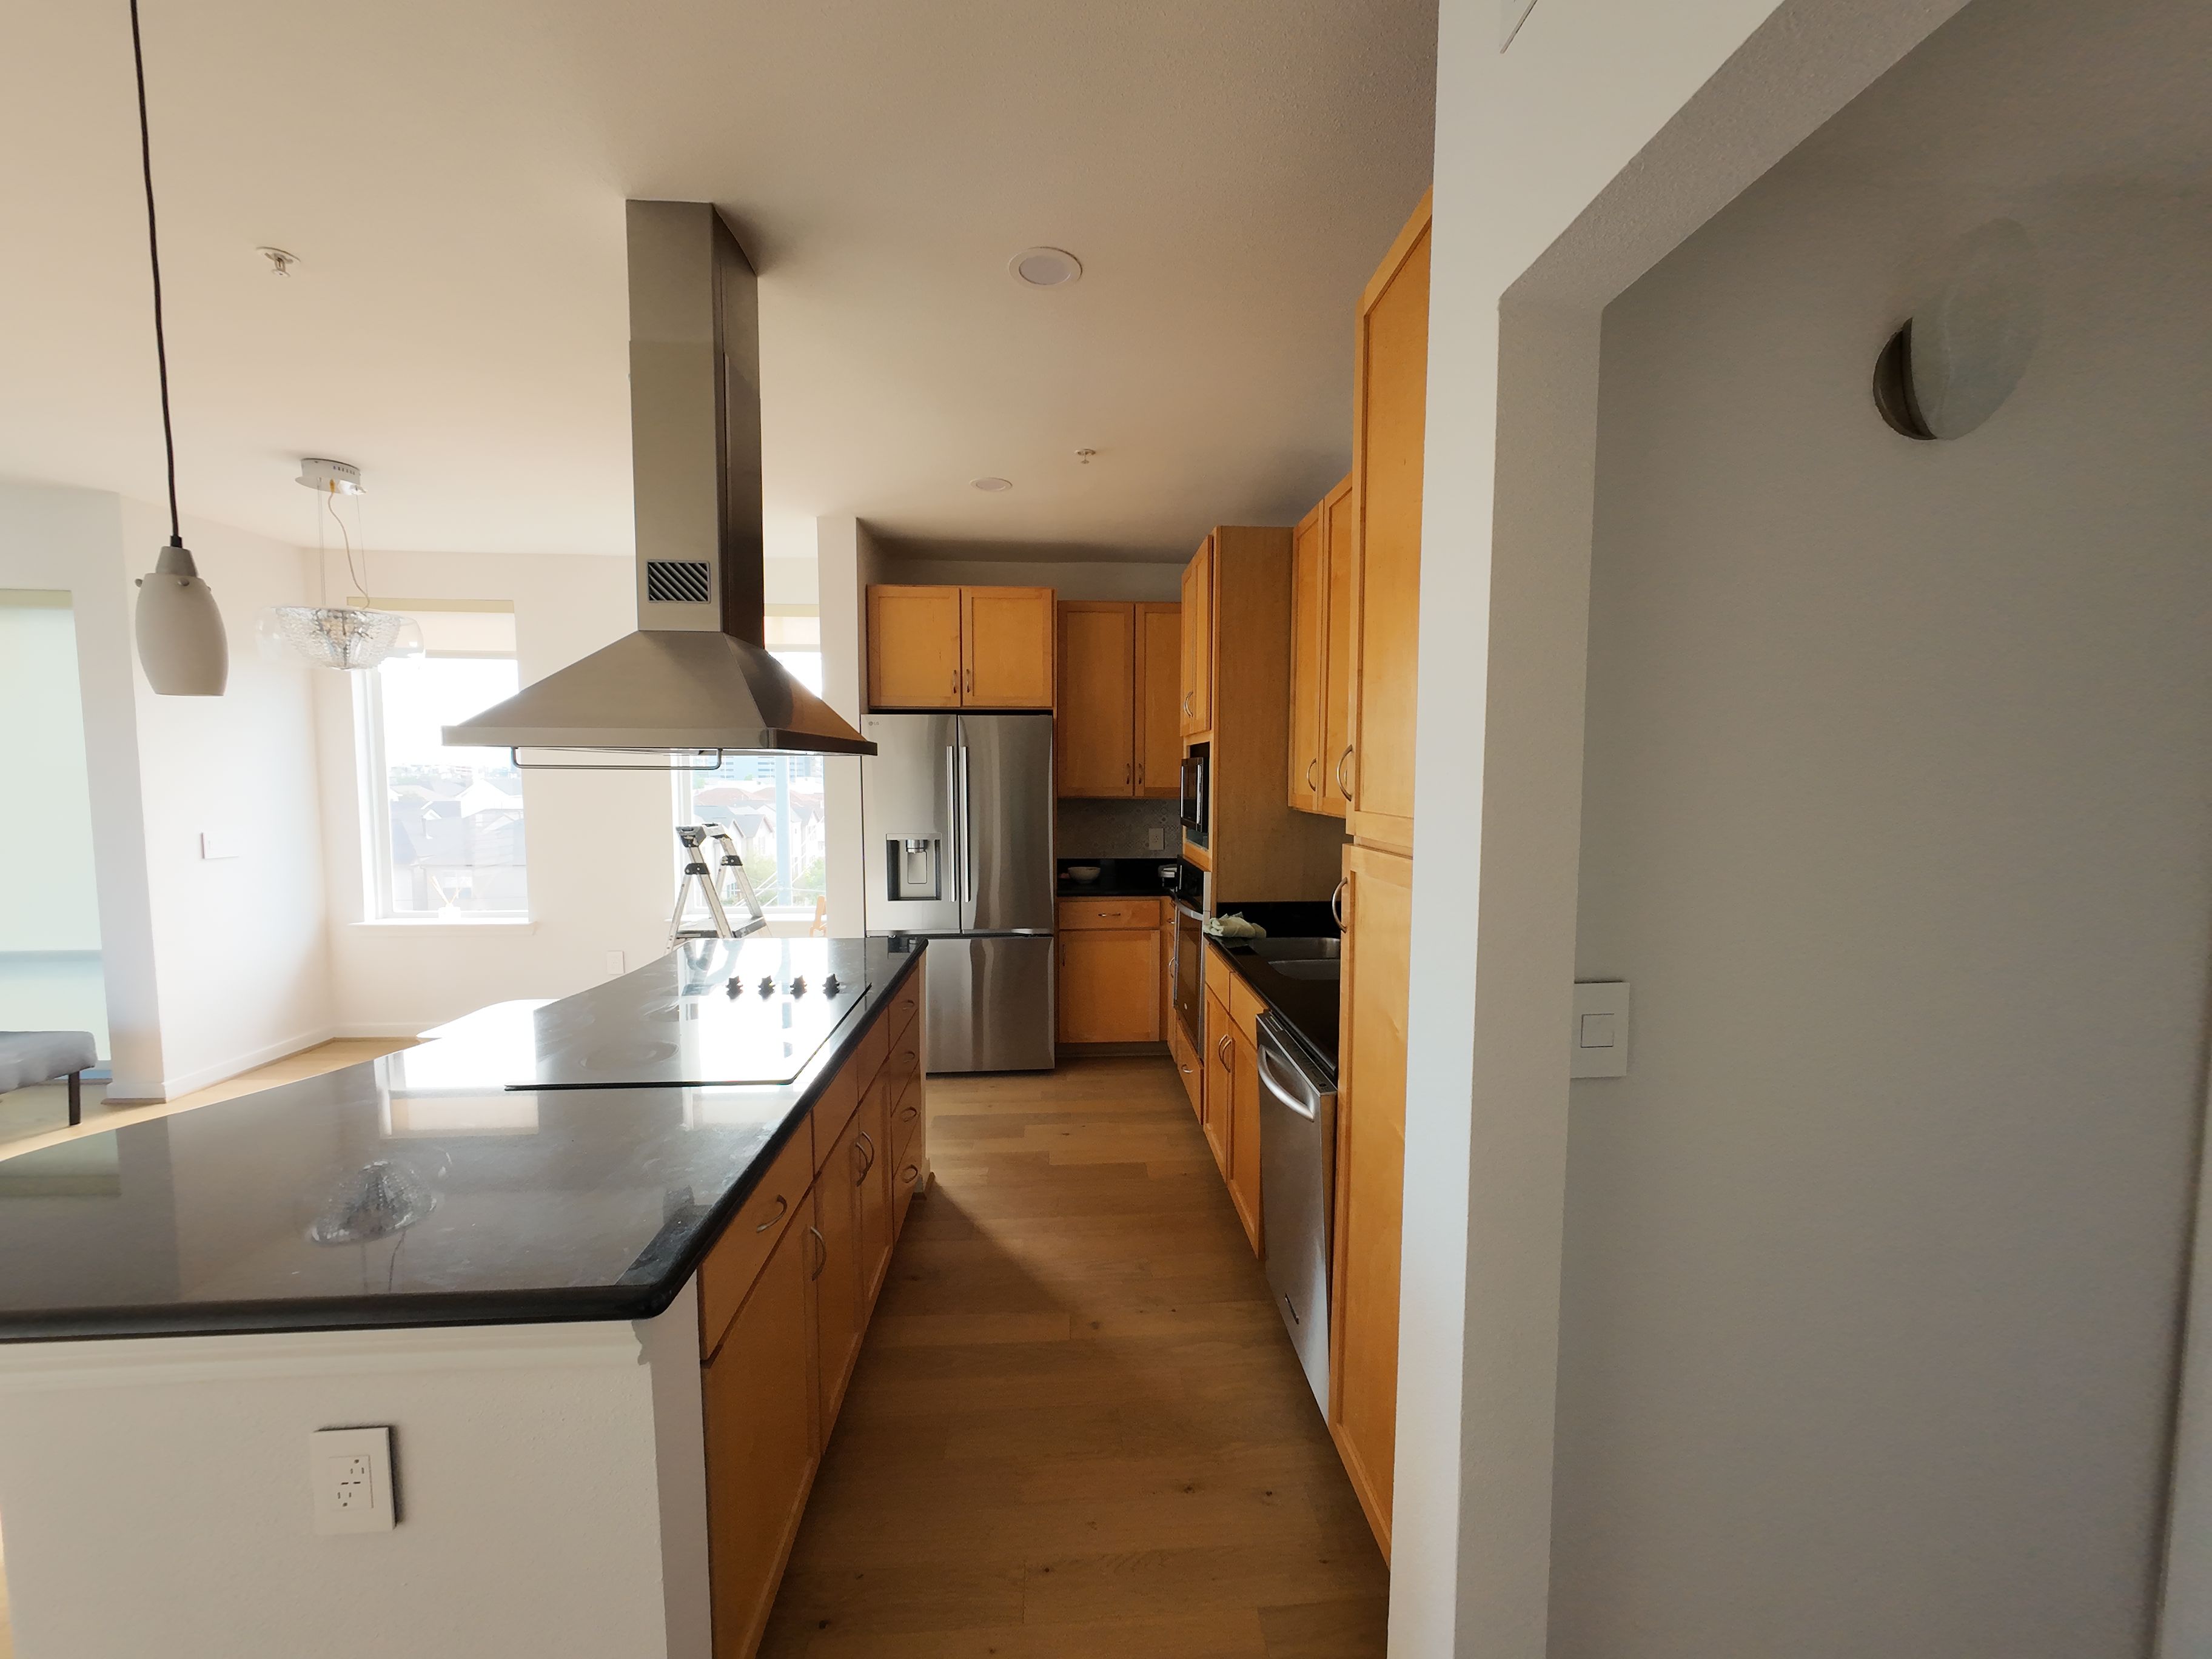
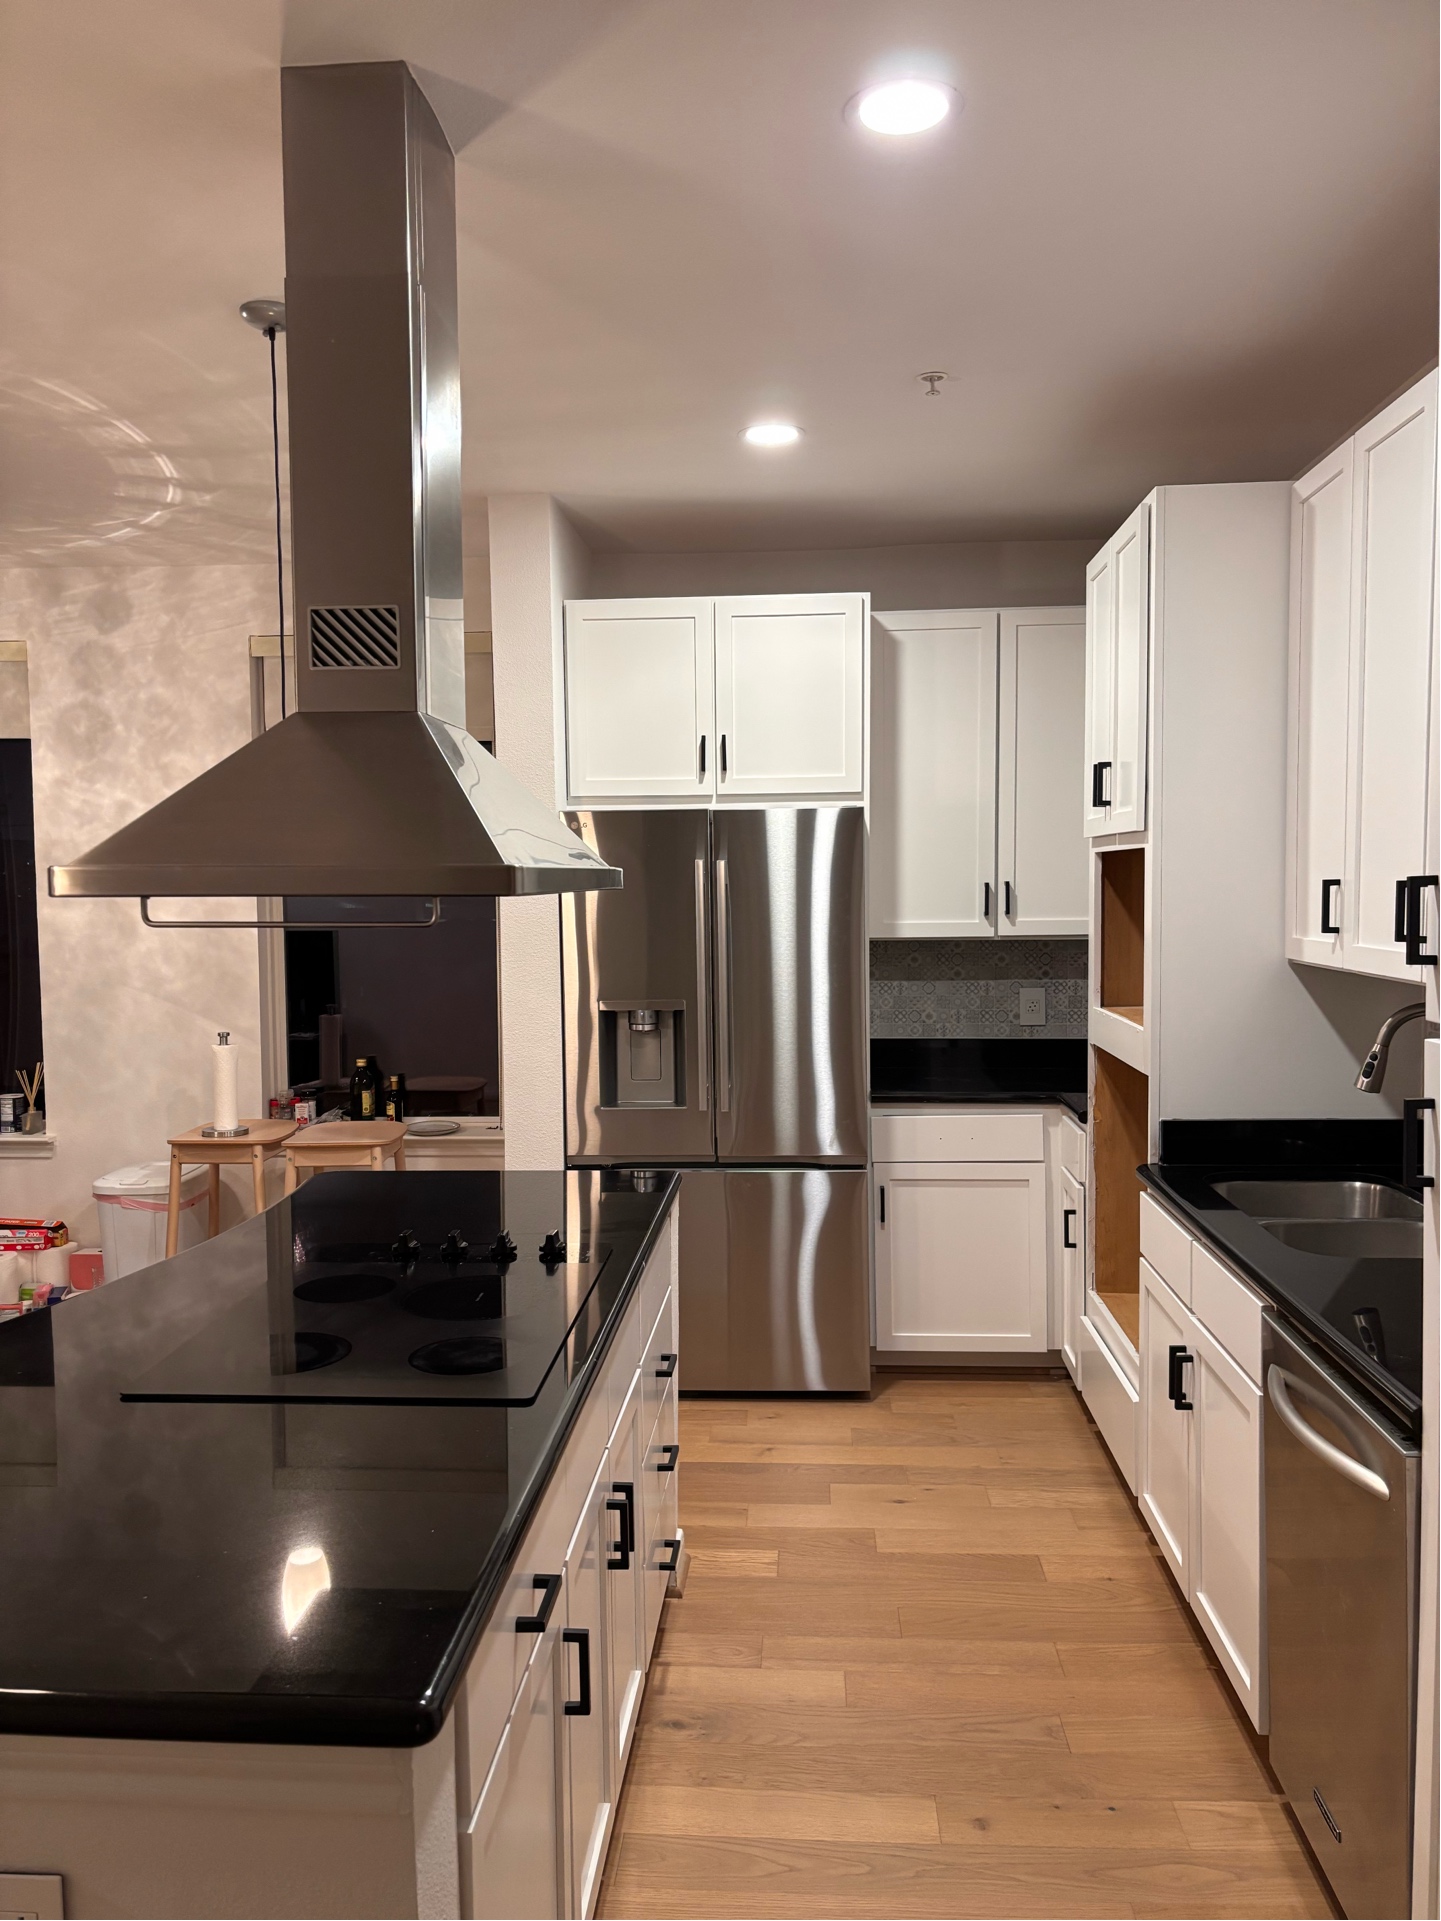
When it comes to cabinet refinishing, the paint you choose is important, but the process is what determines whether your cabinets will look great for a year or last for a decade. At Wise Pro Painting, we've perfected a 5-step method that guarantees a durable, beautiful finish for Houston homeowners.
1Step 1: Removal & Labeling
The foundation of a perfect finish starts with proper disassembly. We never paint doors while they are still attached to the cabinet boxes. Attempting to do so results in painted hinges, drips, and uneven coverage.
Our team carefully removes all doors, drawer fronts, and hardware. We use a meticulous numbering system, labeling each piece and its corresponding location on a hidden edge. This ensures that when it's time for reassembly, every door goes back exactly where it belongs, maintaining the original alignment and swing.
2Step 2: Degreasing & Sanding
Kitchens are high-traffic areas exposed to cooking oils, steam, and daily handling. Over time, an invisible layer of grease builds up on your cabinets. If you paint over this grease, the paint will inevitably peel.
We thoroughly clean every surface using TSP (Trisodium Phosphate) to strip away years of grime. Once clean and dry, we sand the surfaces with 150-grit sandpaper. This doesn't remove the old finish entirely, but it "de-glosses" the surface, creating microscopic scratches (a profile) that allow the primer to grip tightly to the wood.
Why Process Matters More Than Paint
Even the most expensive paint in the world will fail if applied to a greasy, unsanded surface. 80% of the work in cabinet refinishing is the preparation. The actual painting is just the final 20%. This is why DIY jobs often chip within months, while our professional process is backed by a 5-year warranty.
3Step 3: Bonding Primer Application
We don't use standard drywall primer on cabinets. Wood cabinets require a specialized bonding primer designed to adhere to glossy surfaces and block tannins (natural wood oils) from bleeding through the topcoat.
We apply two coats of high-quality bonding primer. After the first coat dries, we inspect for any imperfections, fill dents or deep scratches with wood filler, sand smooth, and apply the second coat. This creates a flawless, uniform base for the final color.
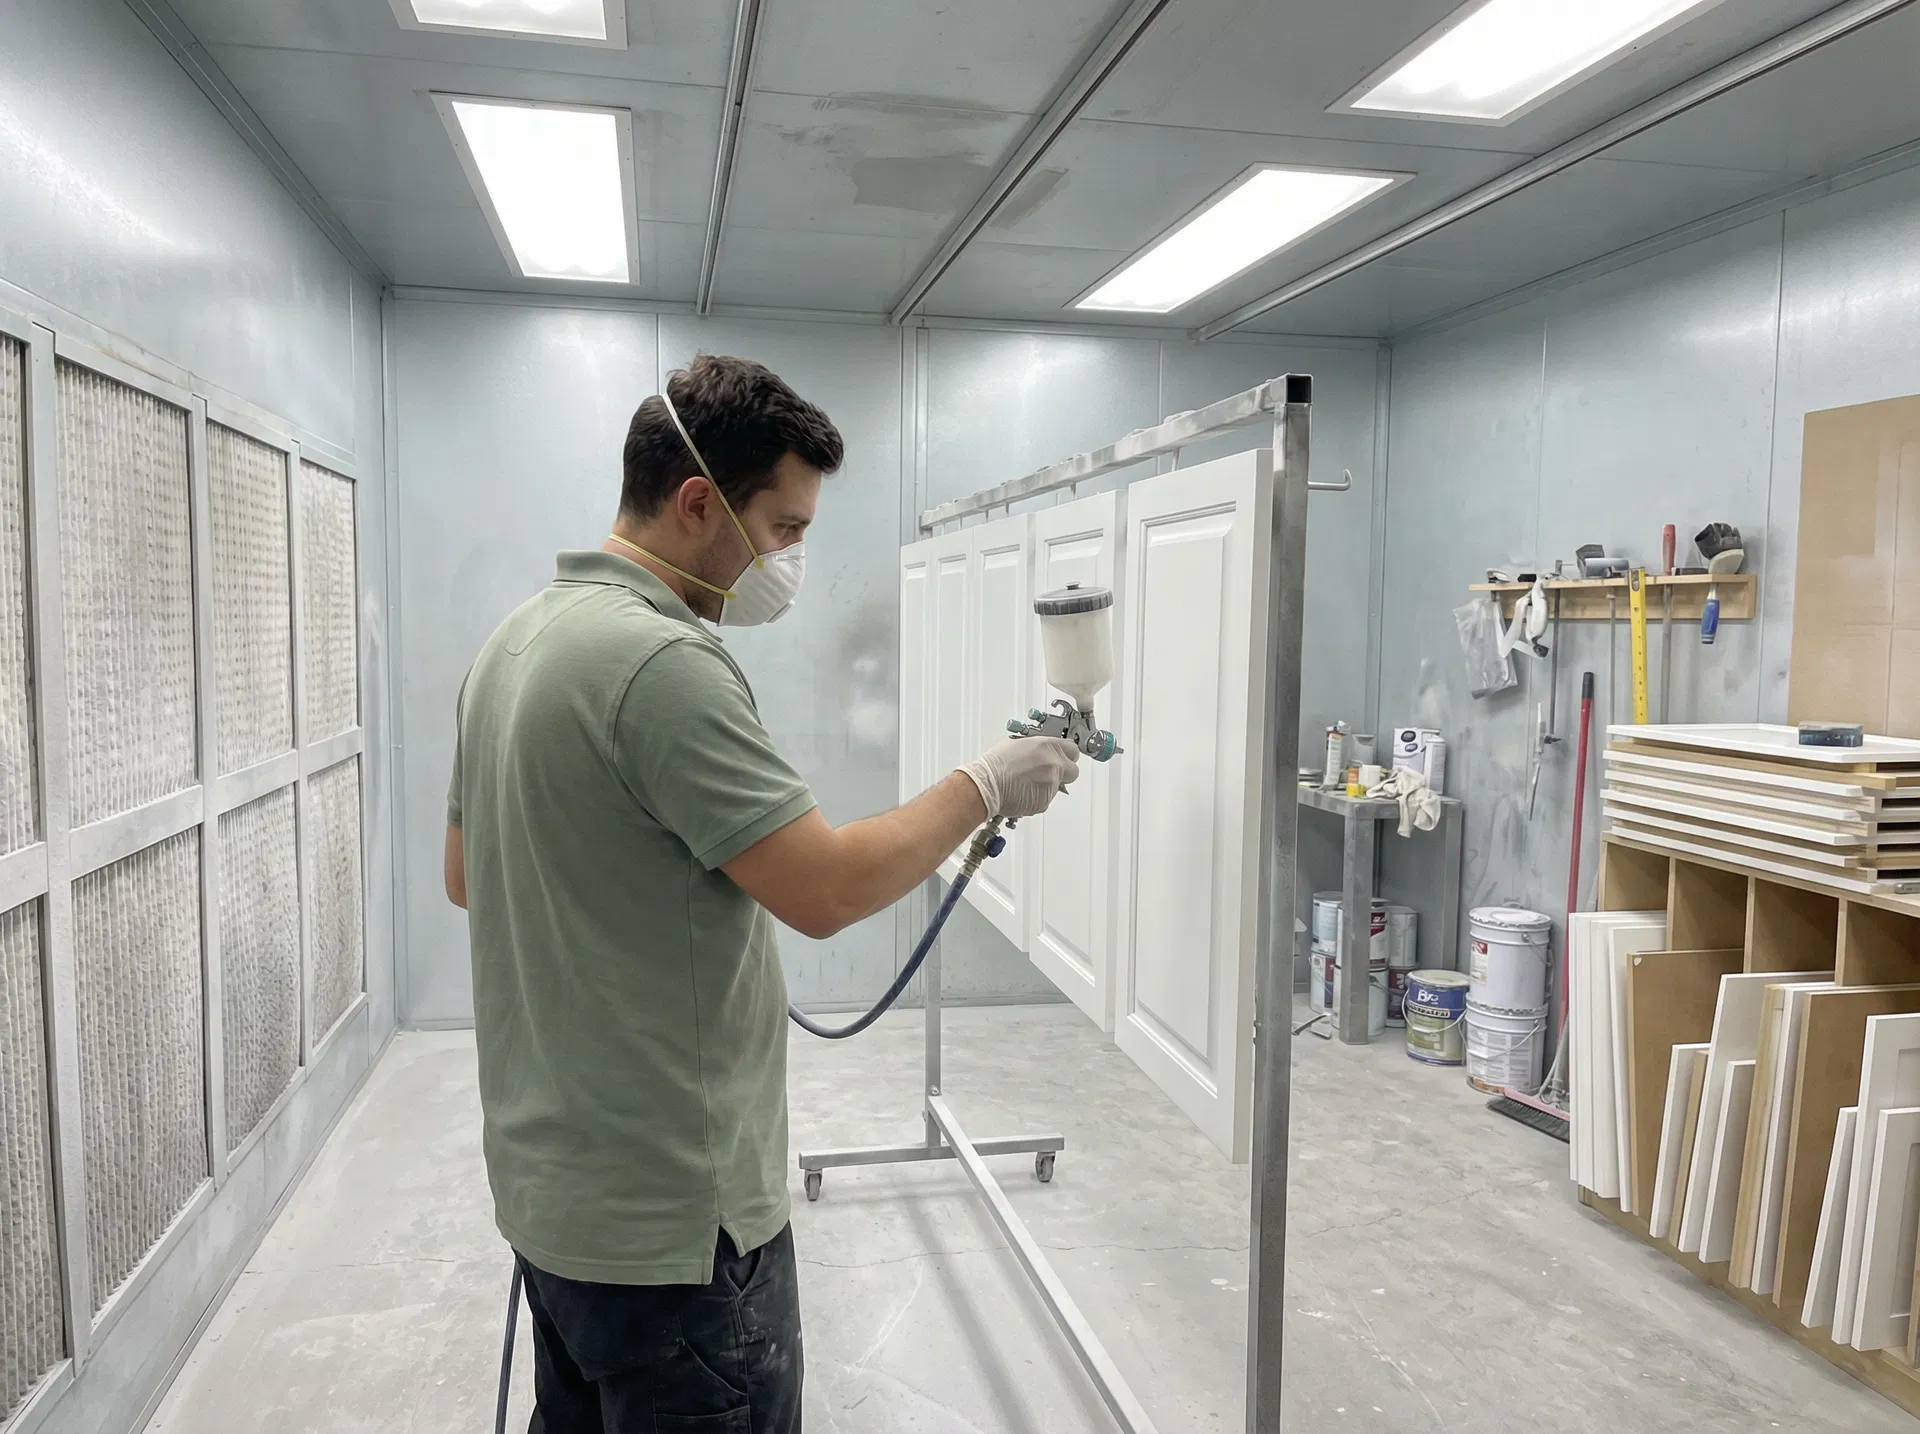
4Step 4: HVLP Spray Application
This is where the magic happens. Instead of using brushes or rollers, which leave visible strokes and stipple marks, we use HVLP (High Volume Low Pressure) sprayers. This technology atomizes the paint into a fine mist, resulting in a smooth, factory-like finish.
We apply two coats of Sherwin-Williams Emerald Urethane Trim Enamel. This premium water-based urethane cures to an incredibly hard, durable finish that resists chipping and yellowing. We allow proper cure time between coats to ensure maximum durability.
5Step 5: Reassembly & Inspection
Once the doors are fully cured, we carefully transport them back to your home. Using our numbering system, we reinstall every door and drawer perfectly. We reattach your existing hardware, or if you've chosen to upgrade, we install your new knobs and pulls.
Finally, Fernando conducts a personal quality inspection. We check every hinge, every edge, and every surface to ensure it meets the Wise Pro Painting standard before we consider the job complete.
Timeline Breakdown: What to Expect
A typical kitchen cabinet refinishing project takes 5-7 business days. Here is what happens to your kitchen during the process:
Day 1: Prep & Removal
We mask off your kitchen, remove doors/drawers, and take them to our shop. We begin degreasing the cabinet frames in your home.
Days 2-3: Frame Finishing
We prime and spray the cabinet frames in your home. During this time, your kitchen access is limited.
Days 4-6: Shop Work & Curing
We are working on your doors at our shop. Your kitchen is fully functional again, just without doors!
Day 7: Reassembly
We return to install the finished doors, attach hardware, and perform the final inspection.
How We Differ from DIY or Brush-and-Roll Painters
Many homeowners attempt to paint cabinets themselves, or hire a general house painter who uses a brush and roller. The difference in the final product is night and day.
- No Brush Marks: Our HVLP sprayers lay down a perfectly smooth coat, unlike brushes that leave visible strokes.
- Proper Adhesion: We don't skip the tedious degreasing and sanding steps, ensuring the paint bonds permanently.
- Controlled Environment: Spraying doors in our shop prevents dust and debris from settling into the wet paint.
- Premium Products: We use industrial-grade urethane enamels, not standard wall paint that remains soft and sticky.